Culture
The Hipster’s Cookbook: Foodtography
Every week in The Hipster’s Cookbook, Meghan Bongartz shows you how to make delicious food on a tight budget.
I love cooking food, eating food, and talking about food, but taking pictures of what I’m eating is not exactly my favorite part of writing this column every week. As a member of a generation that takes documenting meals on Instagram pretty seriously, I guess this makes me something of an anomaly, but I also don’t subscribe to the opposing faction of people who hate seeing what other people are eating. I like seeing what other people are eating. I’m probably going to judge you a little bit if you decide that your Monday night Hamburger Helper is worthy of sharing with the world, but only a little. Mostly I’m just interested in finding inspiration for new foods or flavors to try and reminders of old favorites that could be improved upon. I’m also not immune to food porn. I spend way more time than I should browsing cooking blogs, and I would be pretty hesitant to buy a cookbook that wasn’t full of glossy pictures. I want to know what the end product of what I’m making is going to look like, and even though I should be able to visualize it by looking at the ingredients list, it’s much easier with a photograph.
I assume that most other people are the same way, if not more dependent on pictures, so I try to only post recipes that I’ve taken pictures of. This means that a lot of really great food doesn’t make it to the internet, though. There are various reasons why I don’t like photographing my food, and none of them are individually a big deal. Sometimes a recipe comes out less aesthetically pleasing than I’m hoping it will. Sometimes there are a lot of dirty dishes happening in my kitchen and I don’t want to take a picture on a slightly melted plastic plate from Target. More frequently I’m feeling self-conscious about the fact that my food pictures are always on the same dishes (because, you know, those are the dishes I have) and don’t want the faceless people of the internet to judge me. Often my camera is full. Some food is just not inspiring to photograph. Granola? I mean, I love granola; it’s delicious. But no matter what light I photograph it in (and the lighting in my apartment is terrible) it’s still beige. Most of the time I’m just hungry and the five or ten minutes it would take to arrange a good picture are way too long to wait to have food in my stomach.
All of these factors combine to make documenting my recipes just kind of a pain, so even though I cook for myself almost every day, I still have to scramble for something to write about more often than I’d like. Here is an incomplete list of the things that I should have taken pictures of but didn’t over the past week or so: honey-glazed cornbread, strawberry pie, strawberry tarts, banana cream pie, kale and feta salad, watermelon and feta salad, peanut butter and dark chocolate ganache, zucchini lasagna, veggie and egg fried rice, shakshuka. I’m sorry; they were all delicious, and maybe someday I’ll tell you how to make them. I’ve quite literally been meaning to share this recipe for pasta with Swiss chard here for months and have made it multiple times with the intention of taking a picture, only to forget and eat it immediately. It was a great way to use the huge amounts of chard I was receiving with my CSA share through the spring, but you should still be able to get some chard at the farmers markets or whatever grocery store you frequent. You can do this with other greens, but chard is particularly striking because of its rainbow-hued stems. Really, it shouldn’t have taken me so long to take a picture of it. Blanching the greens when you’re done cooking them will stop them from continuing to cook when they’ve been removed from the heat, trapping in more flavor and retaining the bright colors. You can also substitute other types of pasta for this recipe – just use enough for 2-3 servings and cook according to the box directions.
——
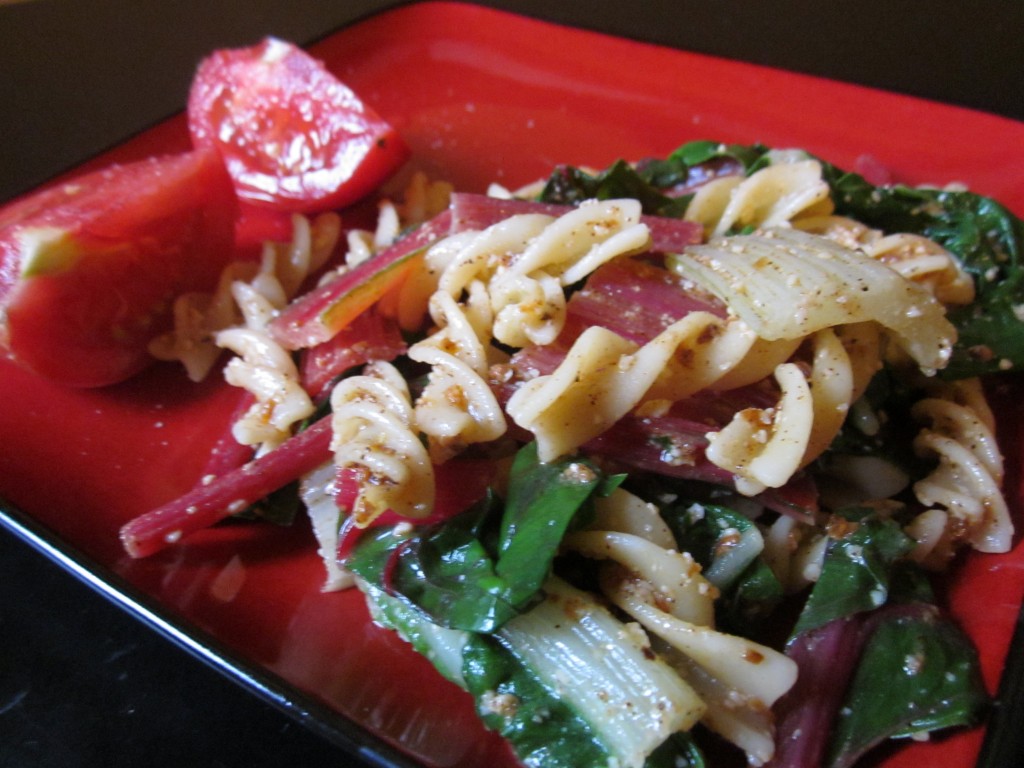
Pasta with Garlic and Swiss Chard
1 ½ cups dry rotini or penne pasta
1 bunch of chard (should yield about 3 ½ cups chopped)
1 tbs olive oil
2 tbs unsalted butter
2 large cloves of garlic, crushed or minced
2 tsp chili powder
Juice from 1 lemon
¼ cup parmesan cheese
Salt and pepper to taste
1) Bring two pots of water to a boil. In one, cook pasta according to the directions on the box. When it is cooked to an al dente state, drain and transfer to a large bowl. Set aside.
2) Wash and trim the chard and roughly chop both the leaves and stems. Add the stems to the second pot of water and wait for 1-2 minutes before adding the leaves. Continue boiling for 3-4 minutes.
3) While the chard is boiling, fill a large bowl with ice water. When the chard has finished cooking, drain it and transfer the leaves and stems immediately to the bowl of ice water to blanch it.
4) In a small pan over medium low heat, melt the olive oil and butter together. Add the garlic and sauté until it becomes fragrant and begins to turn golden. Add the chili powder and continue to cook for another minute.
5) Remove the garlic and butter mixture from the heat and add the lemon juice. Pour over the pasta and add parmesan, salt and pepper. Drain the chard from the ice water and stir into the pasta, separating the leaves where necessary.