Culture
Heave DIY: A Fringe Affair

Every week in Heave DIY, Seetha Sankaranarayan journeys into the depths of her junk drawer to refashion old items into on-trend accessories, with minimal tools required.
Festival season is cooling off, but the August heat is in full tilt. The blazing sun may have you wishing you could just ditch your shirt altogether. But if you prefer to leave a little to the imagination–and to stave off harmful UV radiation–look no further than fringe. The fabric from a single shirt is enough to keep the Windy City breeze flowing across your skin, and the hair out of your face while you rage.
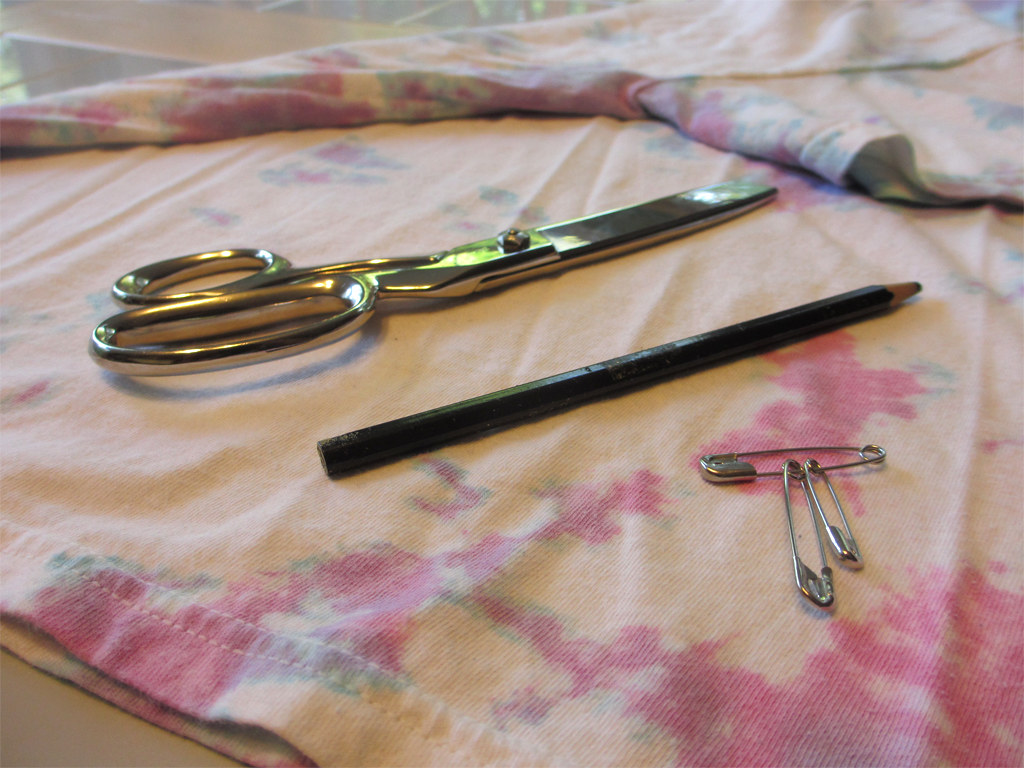
To make a fringed top and braided headband, you’ll need the following materials:
-an old T-shirt–the more worn in, the better
-sharp scissors
-a light colored marker or tailor’s chalk
-a safety pin or bobby pin
Fringed top
Time: 10–15 minutes
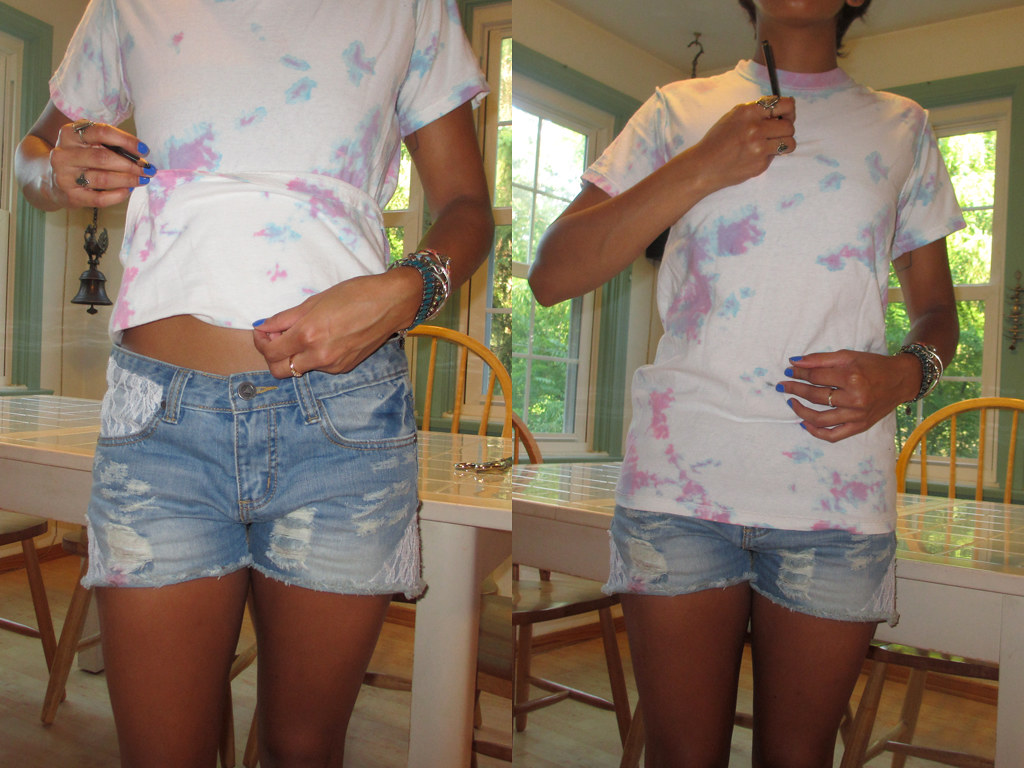
1) Put on the T-shirt, inside out. Roll up the hem to expose as little or as much belly as you’re willing to show. Mark this level using the pen or tailor’s chalk (you can create a dotted guideline for Step 4). Make a second mark about four inches below the neck ring.
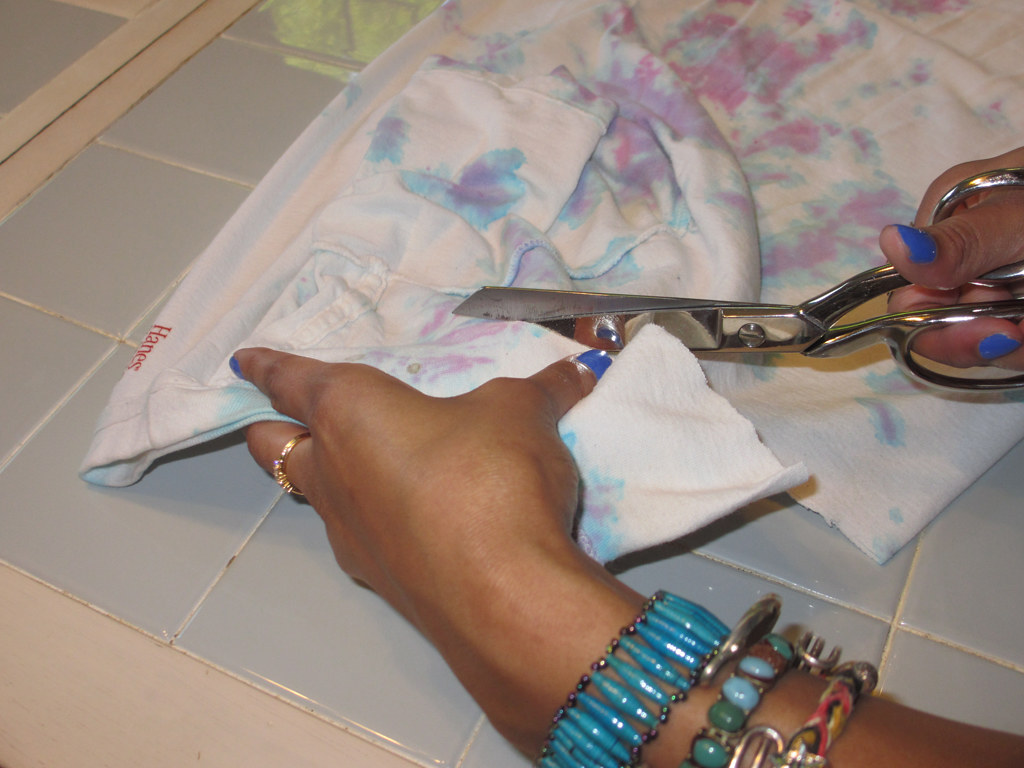
2) Take off the shirt and lay it down flat, so that one sleeve faces up. Line up the hem and collar. Using the mark at the neck as your guide, cut a wide half-circle around the neck ring. Put the circle of fabric aside. (Notice how you can strategically cut out stains. Nice.)
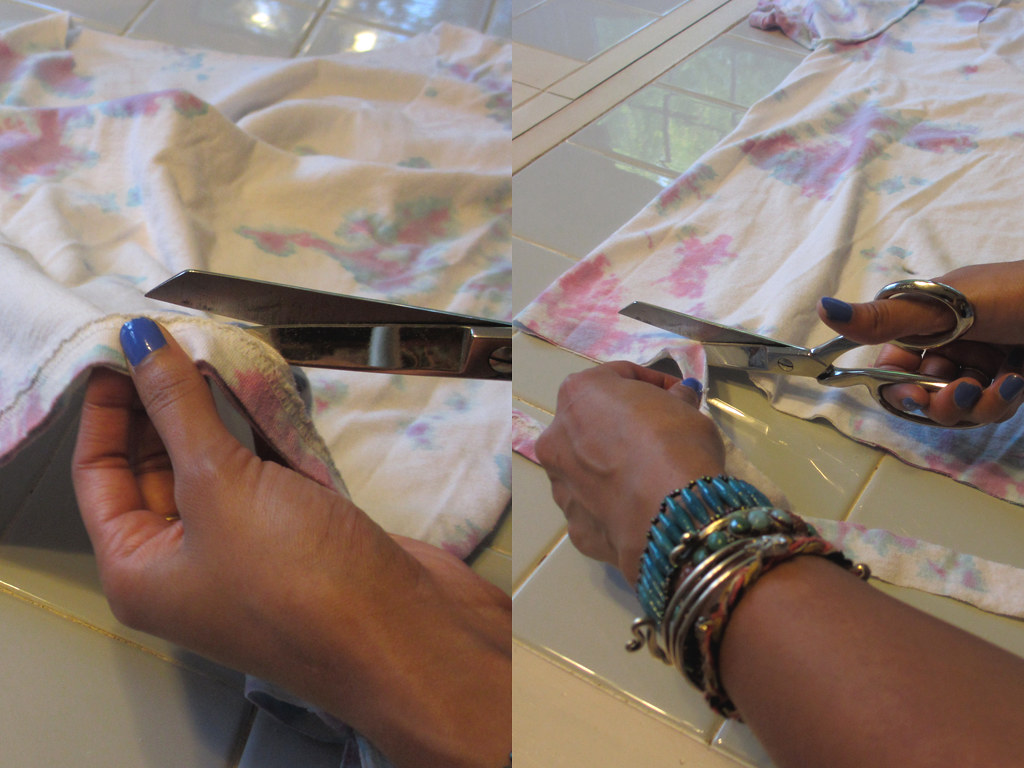
Step 3: Lay the shirt flat with the front facing up. Line up the front and back hems. Hold both layers of fabric together and cut the hem off. Then, cut off a one-inch strip of fabric from the bottom of the shirt. Put these scraps aside with the neck ring.
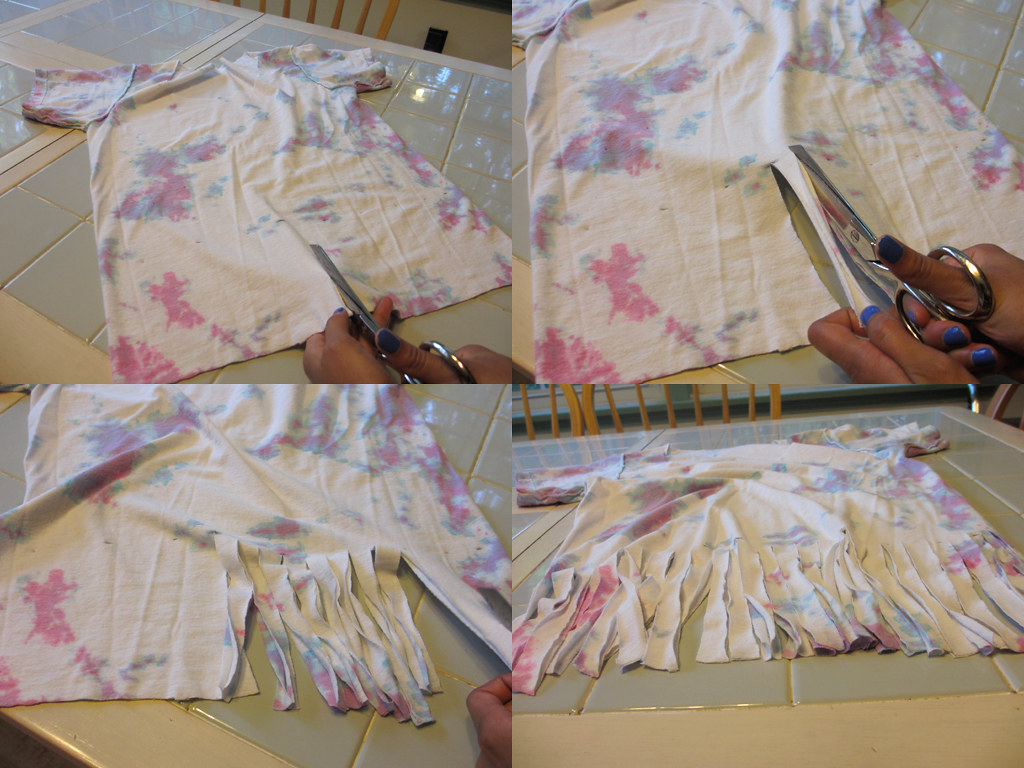
Step 4: Here comes the fun part. Cut straight up the center through both layers of fabric to the mark at the stomach. Move 3/4-inch to the right and cut straight up the shirt again to create one strip of fringe. Repeat.
Step 5: Take each strip of fringe between your thumb and forefinger and pull firmly. This stretches the fabric so that the strips curl into tubes. Flip the shirt right side out and try it on. If you’re in a pinch for time, stop here. But to get the full effect, run the shirt through the washer and dryer. The spin cycle pulls the fringe tubes tighter and softens the cut neckline, making your shirt look more broken in.
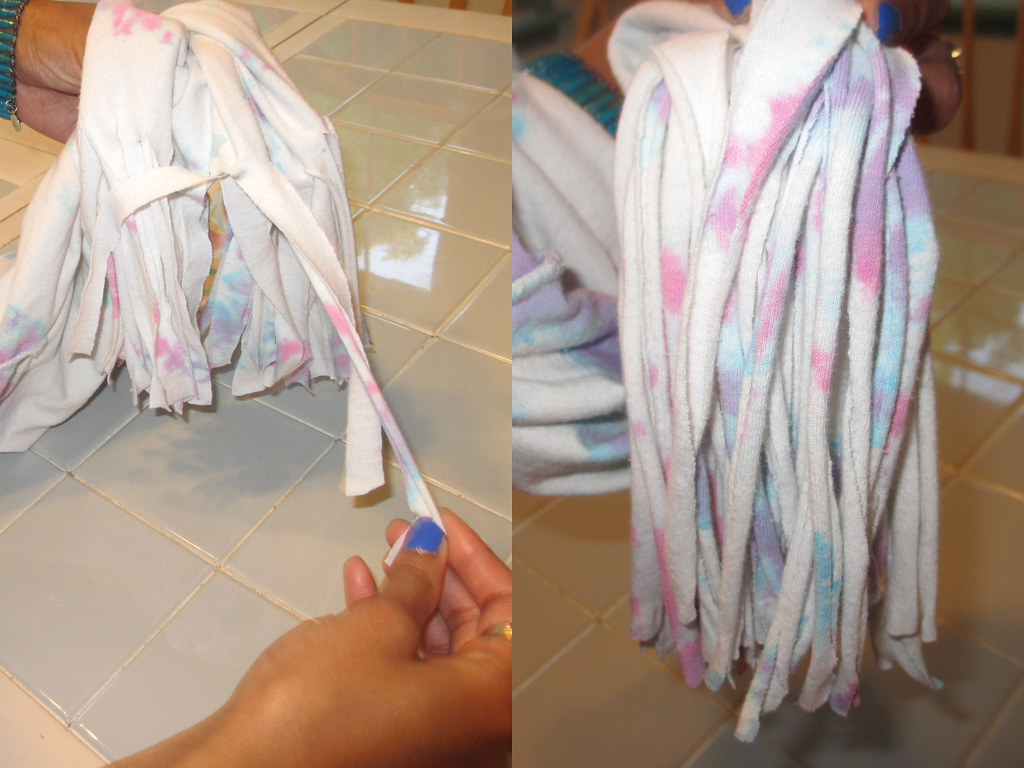
Variations: Roll up the sleeves (above right) or crop them completely to make a tank top. Cut more from the neck to make a breezy off-shoulder top (bottom left). Or, go H.A.M. on the fringe by cutting off the sleeve hems and repeating Steps 4 and 5 with the remaining fabric (bottom right).

Braided headband
Time: 5–10 minutes
6) Grab the scraps you saved from cutting off the hem and sleeves. Cut off the hems of the sleeve. Consider keeping one on your wrist as a sweatband or extra hairband. Feeling the love? Give the other to your best pal: Instant friendship bracelets.
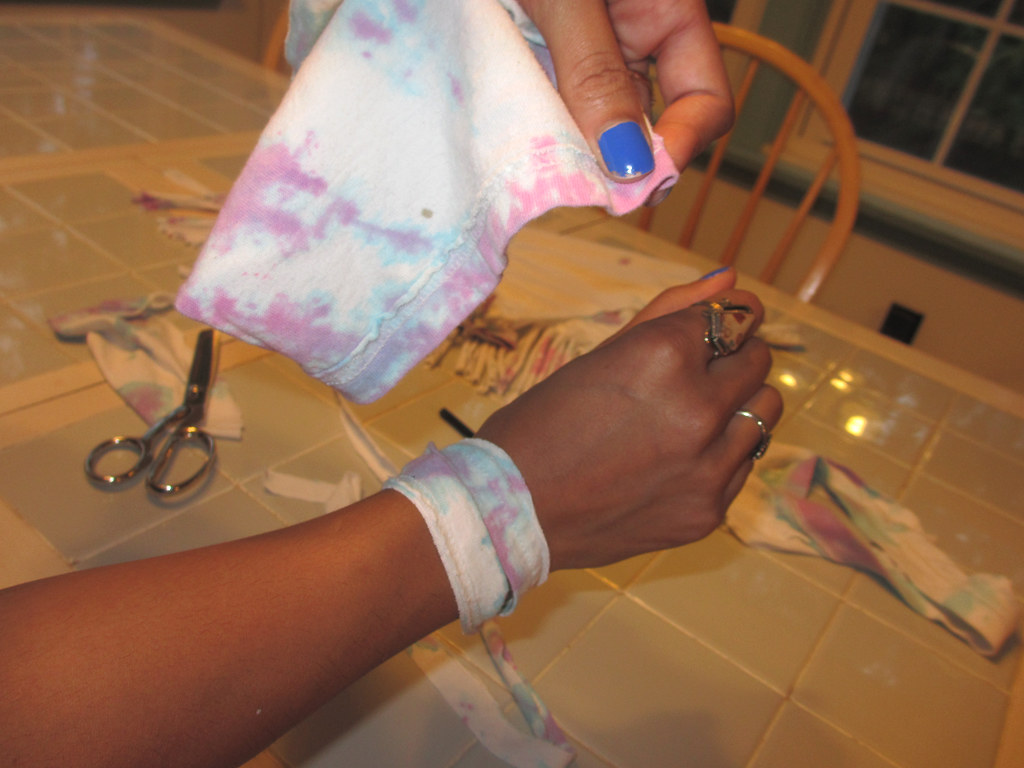
7) Cut the scraps into three strips, 1-inch wide and 2-feet long. Stretch the pieces of fabric and pin them together.

8 ) Braid.
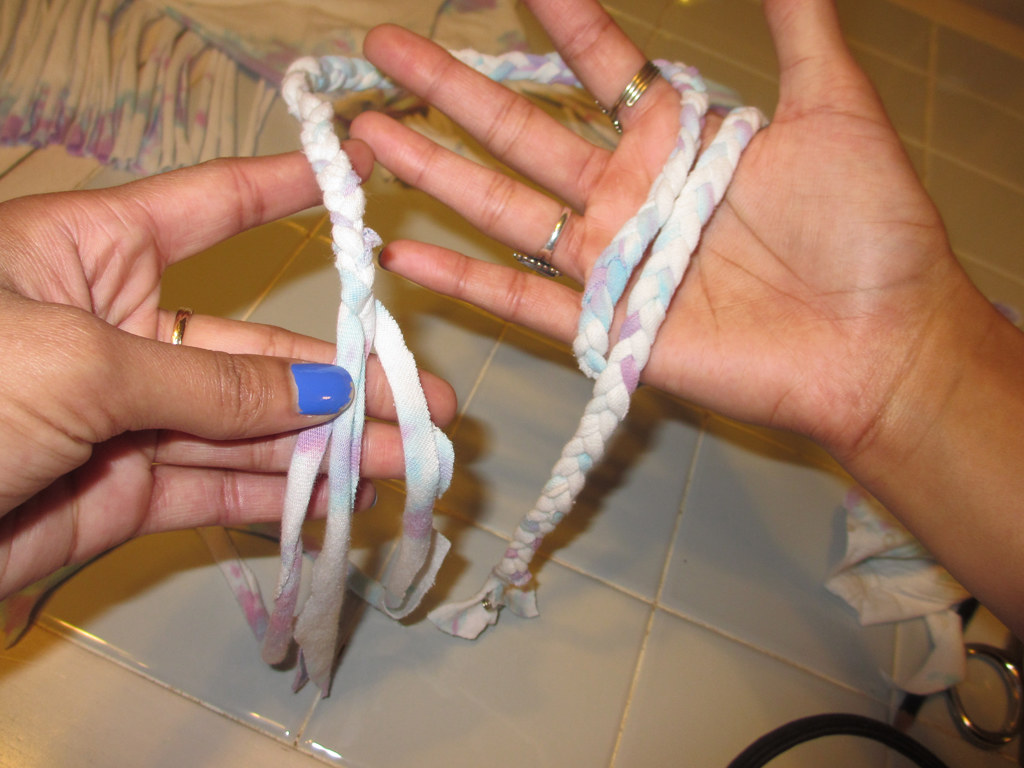
9) Remove the pin and secure each end of the braid by knotting one piece of fabric around the other two. Make two knots.
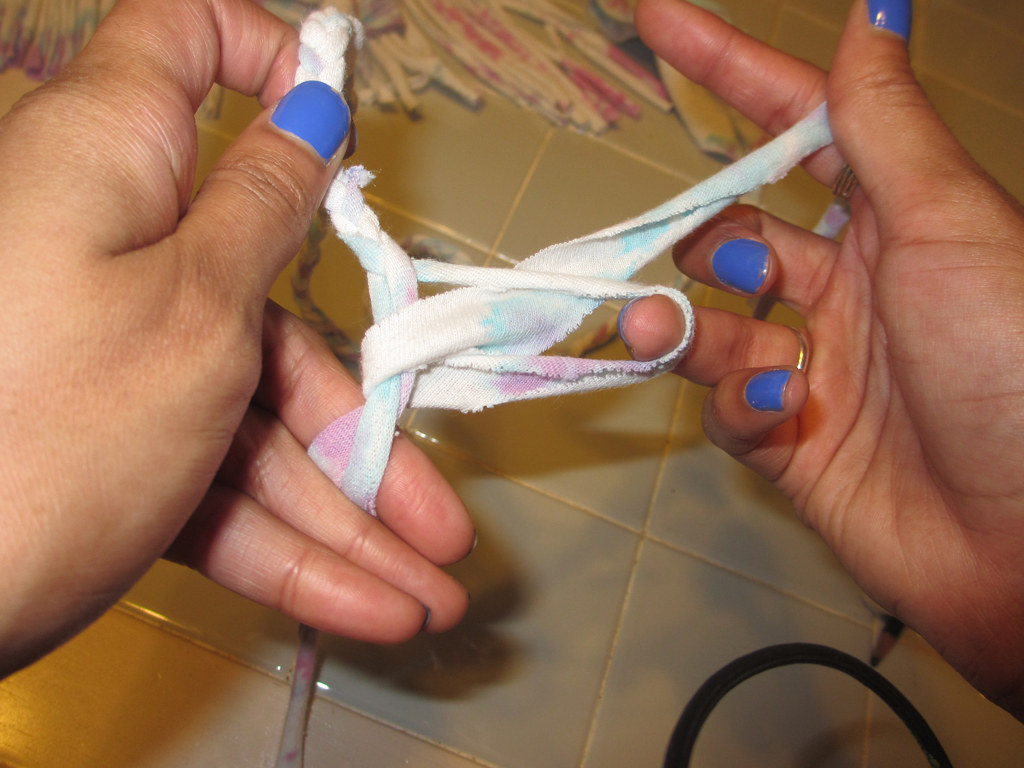
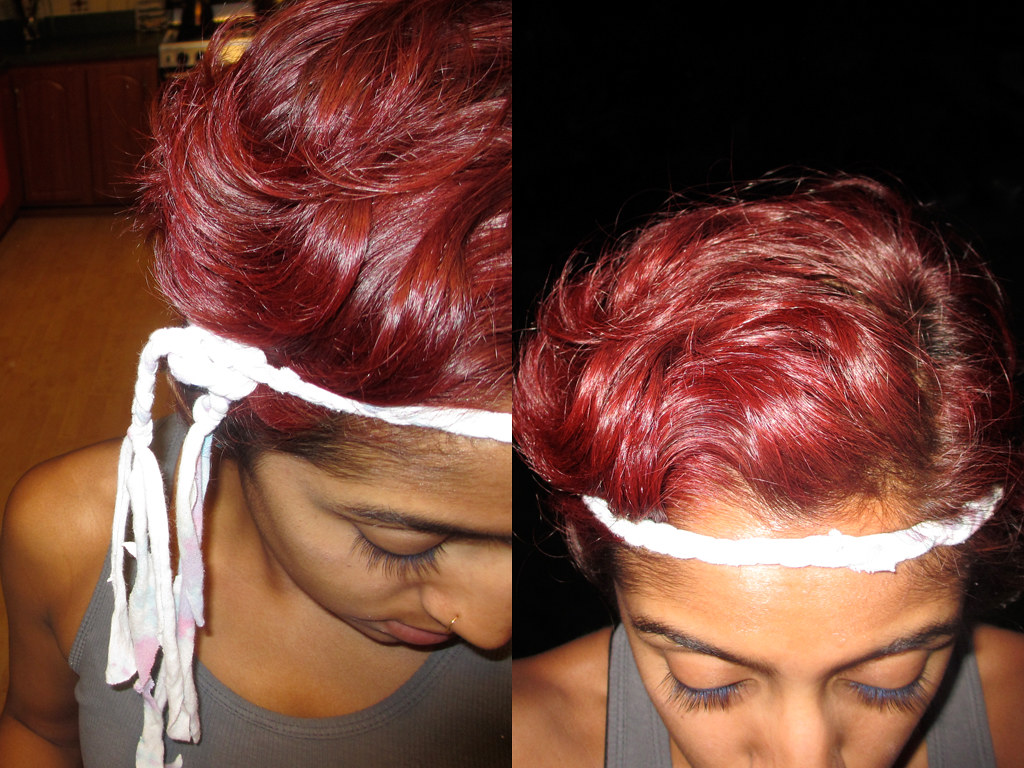
10) Wrap it around your head and tie it. You can let the ends show at the back or side of your head, or knot them up under your hair. Then grab your CamelBak and Wayfarers, and you’re good to go!
Pingback: » Heave DIY()
Pingback: Seetha Sankaranarayan » Archive » Heave DIY()
Pingback: On that DIY columnist grind | kunjulam.com()
Pingback: Tutorial and error | kunjulam.com()