Culture
The Hipster’s Cookbook: Pie Time
Every Tuesday, Meghan Bongartz teaches you a little something about home cooking in The Hipster’s Cookbook.
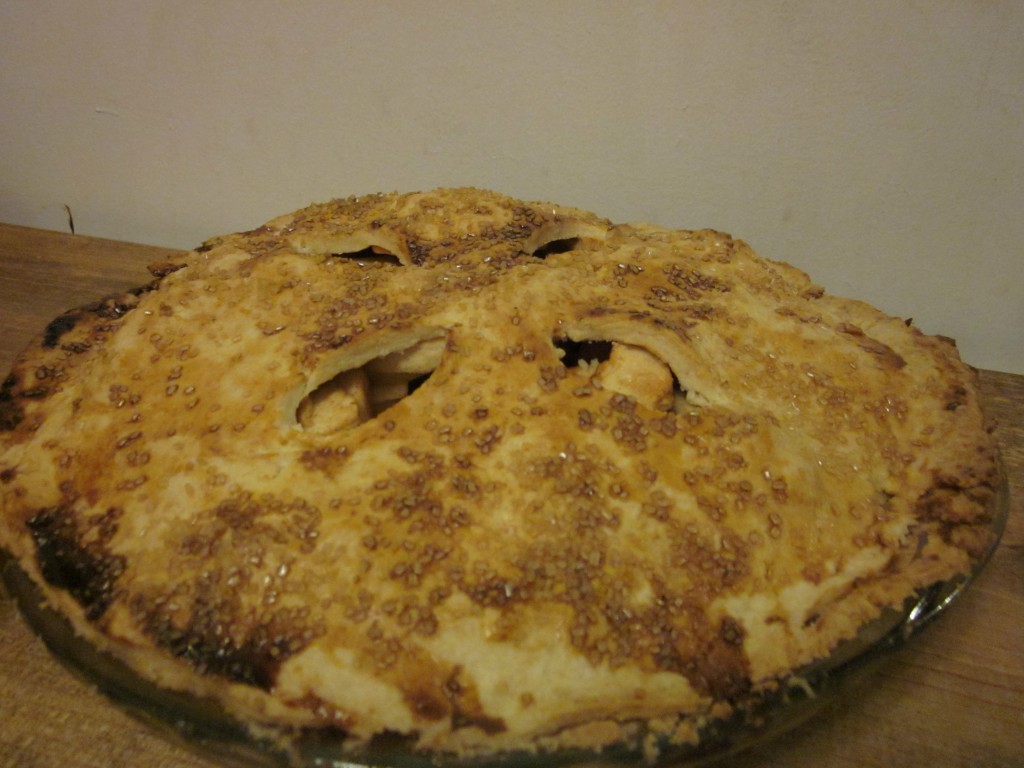
It’s high time we talked about pie crust. This is on my mind right now because I went apple picking over the weekend, and an apple pie was the first thing I made with my harvest. Really, the ability to make a good pie crust is something you should have all year long. There is no time when pie is a bad thing, and the crust is actually quite versatile; you can use the same crust for tarts, turnovers and a plethora of other pastries that can pass as meals (think quiches and pot pies).
A lot of people seem to be intimidated by making pie crust from scratch, and this results in pies made with store-bought crusts that tend to be mediocre at best. The problem is obviously not the recipes themselves, because there are very few variations among crust recipes. They all call for flour mixed with solid fat (butter, lard, shortening, sometimes cream cheese) and a small amount of liquid. I prefer butter crusts because they’re more flavorful, but you can make a perfectly satisfactory crust with shortening or lard if you can get past the yuck factor. Most recipes call for water as a binding agent, but some people use vodka because the alcohol evaporates as it bakes, or add cream or butter for added flavor. None of these are bad things and none of them will make or break your pie crust.
The key is in how you put the ingredients together. Any pie crust recipe you’ve looked at before has probably mentioned that your butter (or shortening or whatever else you use) needs to be cold. I cannot put enough emphasis on how important this is. Seriously, do whatever it takes to keep the butter icy. You should put the butter into the freezer for at least 20 minutes before you mix your ingredients, and then freeze the mixed dough before rolling it out, and maybe even look into freezing the rolled crust on a tray and chilling the bowls you use for mixing. Pie crusts are delicious when they’re flaky, and they’re flaky from the chunks of butter in them melting during baking. If the butter is melting before it goes in the oven, this won’t happen and you’ll have a chewy crust.
You also need to make sure that the butter in your crust is properly mixed to ensure flakiness, and this actually means not mixing it completely. I think that this is where most people go wrong, because most baked goods call for a fully combined dough or batter. With pie crust, you should make sure not to overwork the dough, and there should still be visible chunks of butter in it. I use a food processor for my crusts, and this works very well for getting the butter to the right size quickly (to avoid melting), but if you do this you should make sure to add the water or other liquid by hand. If you continue in the food processor, the butter will end up chopped down to nothing.
The last thing to be mindful of is that the humidity in your kitchen can impact how much liquid you need in your dough. Too much will make the dough sticky and difficult to work with, but the flour and butter will not bind together with too little. You should add the liquid a tablespoon or less at a time so that you can stop when your dough hits the right consistency and not run the risk of adding too much.
This recipe makes enough dough for a single 9-inch pie crust; you will need to double it if you are making a two-crust pie, but I recommend making each batch separately to ensure that each crust is the same size.
——
All Butter Pie Crust
1 stick cold unsalted butter, chopped into ½ to 1-inch pieces
1 ¼ cups all purpose flour
4 tbs ice water
2 tsp sugar (omit for a savory crust)
¼ tsp salt
1) Place the butter pieces on a small plate and let freeze for a minimum of 20 minutes.
2) In the bowl of a food processor, combine the dry ingredients by processing for about 10 seconds.
3) Add the frozen butter pieces and pulse about 10 times. The mixture should have the appearance of tiny peas. It may look uneven, and there may be some larger chunks of butter left. This is okay, and you should still stop mixing!
4) Transfer the butter and flour mixture to a large bowl, and sprinkle the water over it one tablespoon at a time, mixing by hand between each addition. There is enough moisture in the dough when you can squeeze a handful of it in your hand and it holds together, even though it will still look like a shaggy mass of crumbs at this point.
5) In the bowl, if it is large enough, or on a flat work surface, knead the dough gently about 5 times by hand. If it is not cohesive, add another teaspoon of water before trying again. Form the dough into a ball and flatten it slightly into a small disk. Wrap it in plastic wrap and chill in the freezer for at least 10 minutes. This is a good time to begin preparing whatever ingredients are going inside your pie.
6) Generously flour your work surface, set the dough on top of the flour, and sprinkle more flour on top of the dough. Using a rolling pin, flatten the dough into a 12” circle (for a 9” pie tin). It helps to turn the dough after every few rolls to keep it even and prevent sticking, but it does not have to be a perfect circle because you will trim the edges.
7) Transfer the dough to an ungreased pie tin and gently press it to the bottom and sides to avoid air bubbles. Use a fork to prick holes in the bottom and sides, and use a knife or kitchen scissors to trim the dough to fit the edges of the pie tin.
8 ) If you are using a no-bake filling for your pie, this crust bakes at 375 degrees for 20-25 minutes. For pies with baked fillings, follow your recipe from here!
[…] is much more important because it plays a larger role in the end result. For this tart, I used the all-butter crust that I use for most pies. I think a flaky, not-overly-sweet shell complements the richness of the […]